Lightroom Mobile makes editing on your iPhone simple, powerful, and professional. With the 2025 update, Adobe has made it even easier to install and use presets directly on your iPhone without needing a computer.
In this guide, I’ll walk you step-by-step through downloading, installing, and using Lightroom presets on iPhone — plus share a few pro tips competitors never cover.
What Are Lightroom Presets on iPhone?
Lightroom presets are pre-saved editing adjustments that instantly transform your photos with one tap. Think of them as ready-made filters, but much more powerful. Instead of adjusting brightness, contrast, color tones, and saturation every time, a preset applies all of those changes instantly — saving you time and creating a consistent style for your photos.
How to Install Lightroom Presets on iPhone
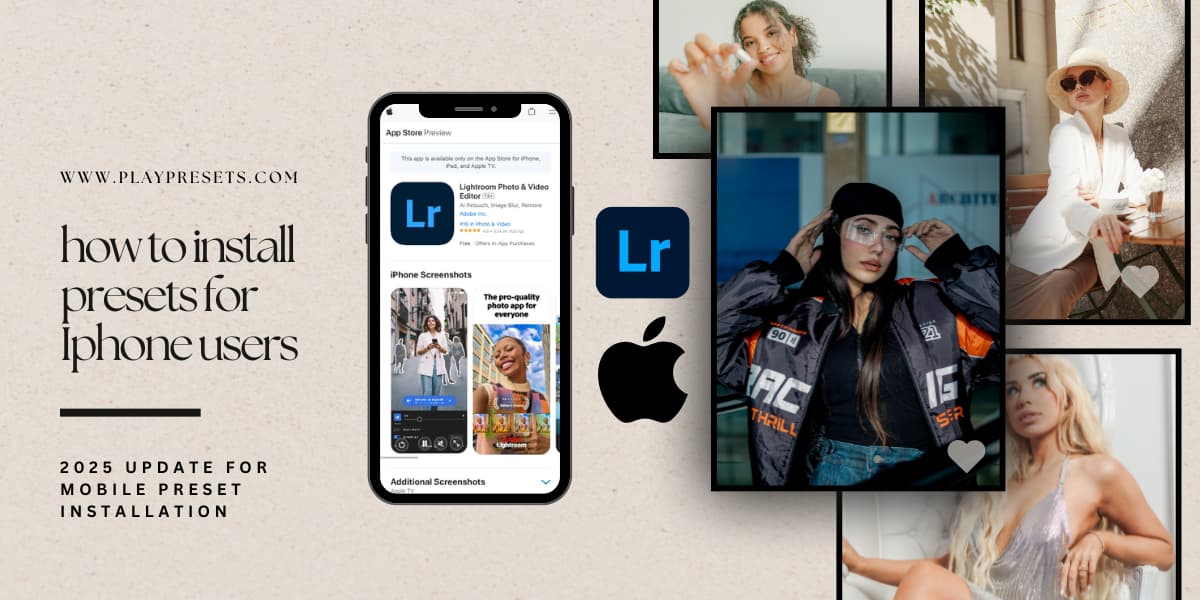
1. Get the Lightroom Mobile App
Start by downloading the Adobe Lightroom Mobile App from the App Store. The good news? You don’t need a subscription — the free version works perfectly for installing and using presets. Just make sure your app is updated so you have access to the latest features and smooth installation.
2. Download Your Presets
Right after checkout, you’ll get instant access to your presets. A download button will appear on the confirmation page, and you’ll also receive an email with your download link.
Tap “Download Mobile Presets” and your preset pack will begin downloading as a .zip file. Don’t worry if nothing pops up — the file is automatically saved in your Files app on your iPhone.
👉 You don’t need to unzip the folder right away — we’ll guide you through the import process inside Lightroom in the next step.

3. Installing Your Lightroom Presets
If You Use Lightroom on Desktop (Sync to Mobile)
Already have Lightroom on your computer? Perfect. You can install your presets on desktop first and let them sync automatically to your iPhone through your Adobe account. Just install them on desktop like usual, then make sure sync is turned on in your Lightroom settings. Once sync is active, your presets will appear on your phone without needing to do anything extra.
👉 If you want a step-by-step tutorial on sync, Adobe has a full guide on their blog.
Installing Presets Directly in Lightroom Mobile (No Desktop Needed)
If you’re only using the Lightroom app on your iPhone, no worries — you can import presets directly into Lightroom Mobile in just a few taps:
-
Open the Lightroom Mobile app.
-
Select a photo from your library (any picture works).
-
Tap the Presets icon at the bottom of the screen.
-
Go to the “Yours” section to see your custom presets.
-
In the top-right corner, tap the three dots (…) menu.
-
Choose Import Presets.
-
Navigate to your downloaded preset folder in the Files app and select them.
*NOTE: You can only select one preset file at a time. You’ll need to repeat these steps to import all of the presets.
That’s it! 🎉 Your new presets will now show up under “Yours” inside Lightroom, ready to use on all your photos.

4 & 5. Using and Adjusting Your Lightroom Mobile Presets
Once your Lightroom presets for iPhone are installed, they’re ready to elevate your photos instantly. Open any image in the Lightroom Mobile app, tap the Presets button, and go to the “Yours” tab to find all your imported collections. Tap a preset to apply it immediately, then confirm your edit by tapping the ✔ checkmark. Repeat this for each preset collection to have a variety of professional looks at your fingertips.
To fine-tune your edits, use the opacity slider by tapping the applied preset again. Adjust the slider to control the intensity — left for a subtle effect or right for a stronger, more dramatic look. This simple step ensures every preset can be customized perfectly for your photo, whether you’re editing bright outdoor shots or low-light indoor images.

Step 6 – Fine-Tune Your Edits (Optional)
Even after applying your Lightroom presets, small adjustments can make a big difference. Use the exposure, contrast, saturation, and warmth sliders to ensure your photos match your style and the lighting of your scene. Some presets may require slight tweaks depending on the photo, but these fine-tuning steps help you maintain a professional, consistent look across your feed.
Step 7 – Save or Export Your Edited Photos
Once you’re happy with your edits, tap the share/export icon in the upper-right corner of Lightroom Mobile. Choose your preferred settings (JPEG quality, size, etc.), then save the photo to your device or share it directly to social media. Exporting high-quality images ensures your edits remain sharp and vibrant.
Troubleshooting Lightroom Mobile Presets
If you don’t see the “Import Presets” option, make sure your Lightroom app is fully updated. Sometimes restarting your iPhone is necessary for the latest features to appear. After updating:
-
Open Lightroom Mobile → select an image → tap the Presets icon.
-
Go to Yours → tap the three dots → select Import Presets.
Still having issues? Contact our support team via the Contact Form and we’ll help you get your presets installed quickly.
Why Use Lightroom Presets on Your iPhone?
Using Lightroom presets on iPhone saves time while giving your photos a professional finish. With just a few taps, you can apply a consistent aesthetic across multiple images, perfect for Instagram, TikTok, or your portfolio. PlayPresets provides high-quality, ready-to-use presets designed for creators of all levels.
Final Thoughts
Installing Lightroom presets on your iPhone is fast, easy, and powerful. With our curated collections, you can transform your photos in seconds while maintaining full control over fine-tuning and intensity. Explore our full library of Lightroom Presets and elevate your editing game today!