A quick and easy guide to install and use Mobile Lightroom Presets for Android phones.
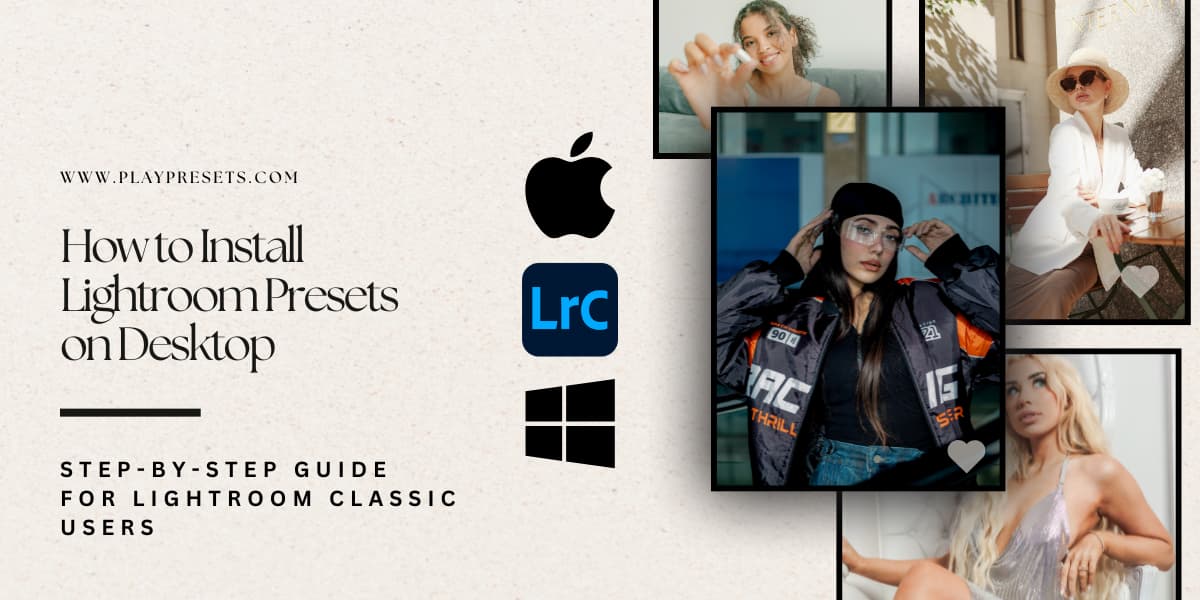
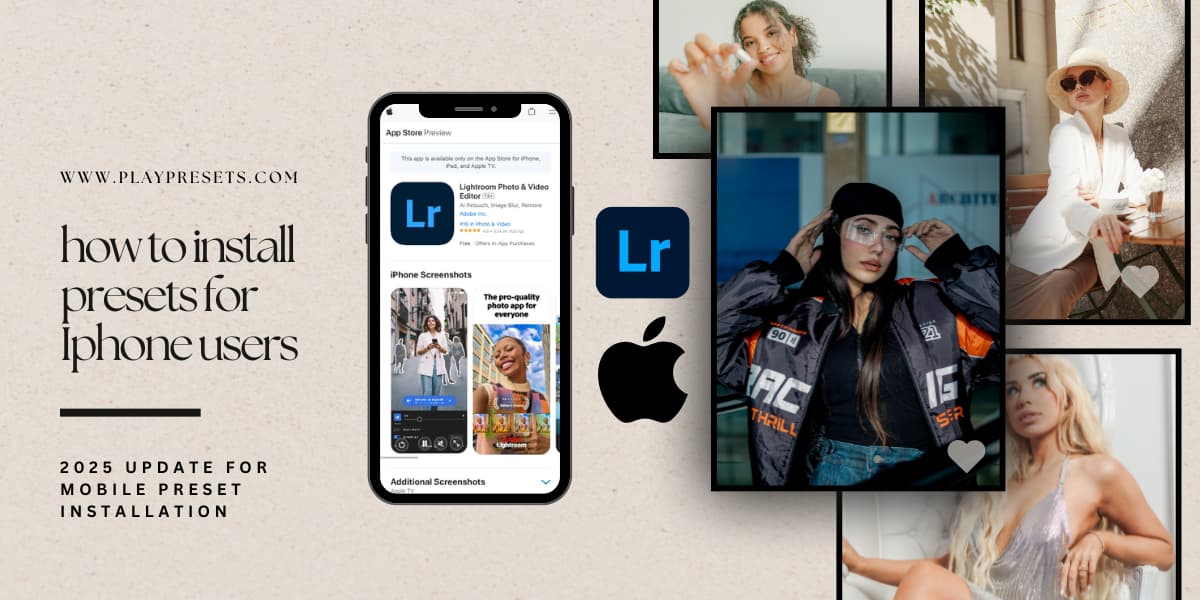
1. Getting Your Phone Set Up
Download the Lightroom Mobile App. Presets are compatible in the free & paid Lightroom App versions. You ONLY need the FREE version to use Play Presets. You can Download The Free Lightroom App For Android
2. Downloading Your Presets
As soon as your payment has processed you will see a button to download your purchased presets. Your will also receive an email with a link to download your presets.
Locate your download email. Click "Download" on the file named "Mobile Presets". This will download the zip file with all the Presets for that collection.

3. Finding and Unzipping Your Presets on Android
After downloading the ZIP file, you'll need to find it in your device and unzip it to access the preset files.
Most Android phones automatically unzip files when tapped. If not, you can download a free app like WinZip, ZArchiver, or RAR from the Play Store to extract the folder manually.
To locate and unzip your presets:
-
Open your Files or My Files app
-
Go to the Downloads folder
-
Tap the ZIP file named “Mobile Presets” to unzip
-
If needed, use an unzip app to extract the files
-
Inside, you’ll find your .DNG preset files ready for import
Once extracted, your presets are ready to be added to the Lightroom Mobile App.

4. Importing Presets into the Lightroom App
After unzipping your presets, the next step is importing the DNG files into the Lightroom Mobile App. These DNG files will appear as images in your library, ready to use.
Below, we’ve included a visual guide showing how to import your presets step-by-step using the Lightroom Mobile App on Android.


5. Creating Your Presets Inside Lightroom
Now that your DNG files are imported into Lightroom Mobile, you can turn each one into a custom preset. This allows you to quickly apply the same style to your future photos with just one tap.
In the guide below, we show how to:
-
Open a DNG file
-
Save its settings as a new preset
-
Create a preset group for better organization
-
Repeat the process for each DNG file in the collection
Your presets will now be saved and ready to use anytime inside the Lightroom app.

6. Apply Your Presets and Enjoy the Results
Once your presets are saved, using them is fast and easy. Just open any photo in Lightroom Mobile, go to your saved presets, and apply the look you love with one tap.
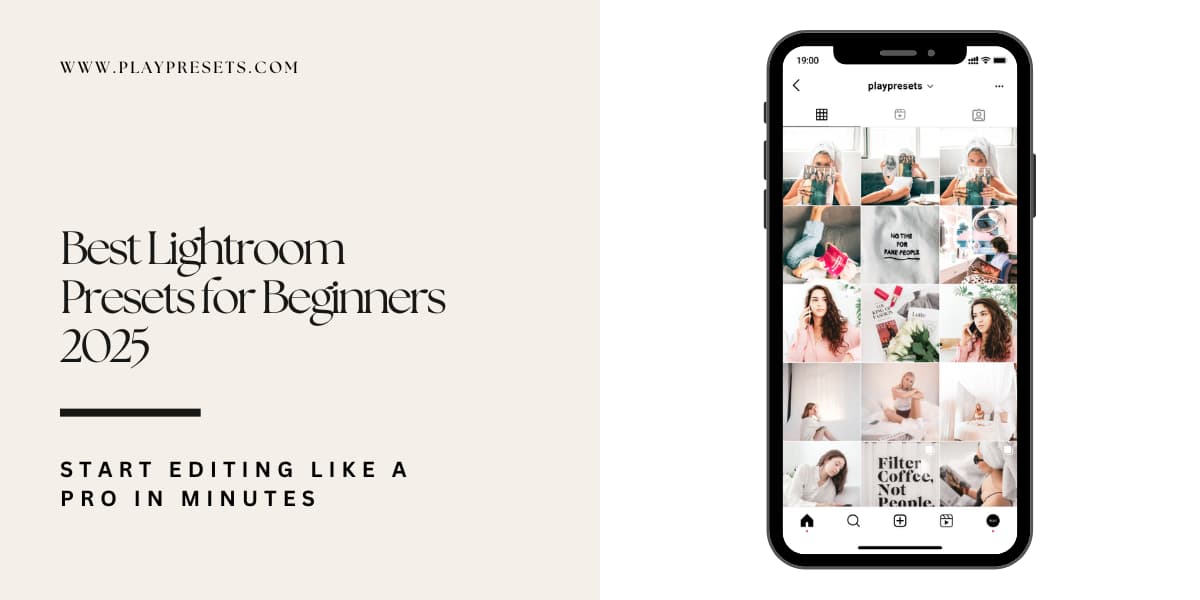
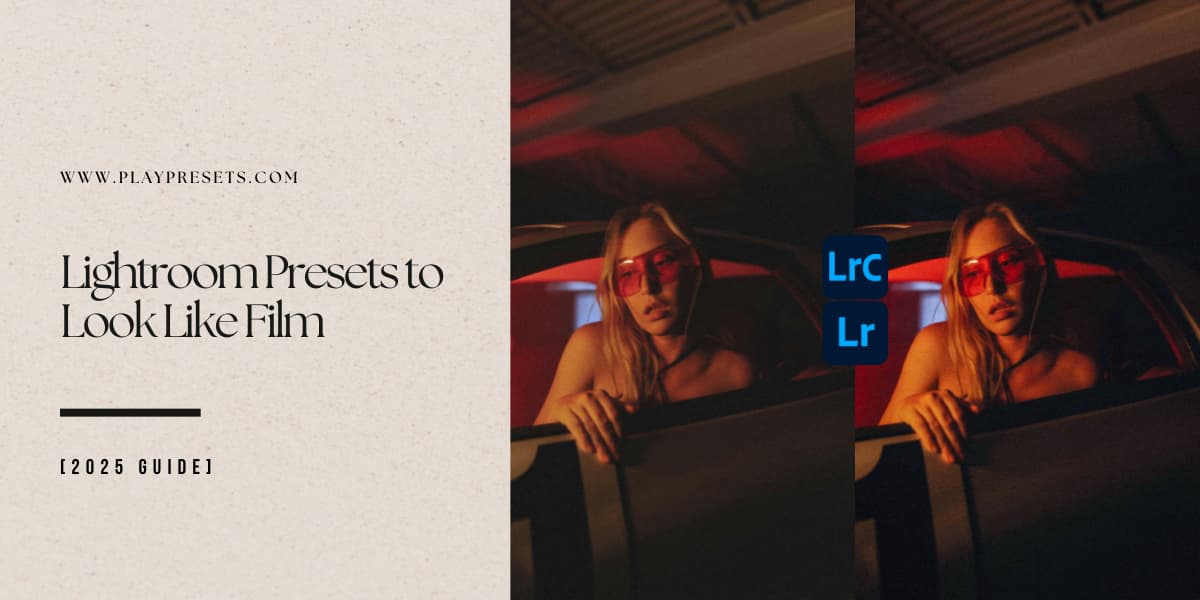
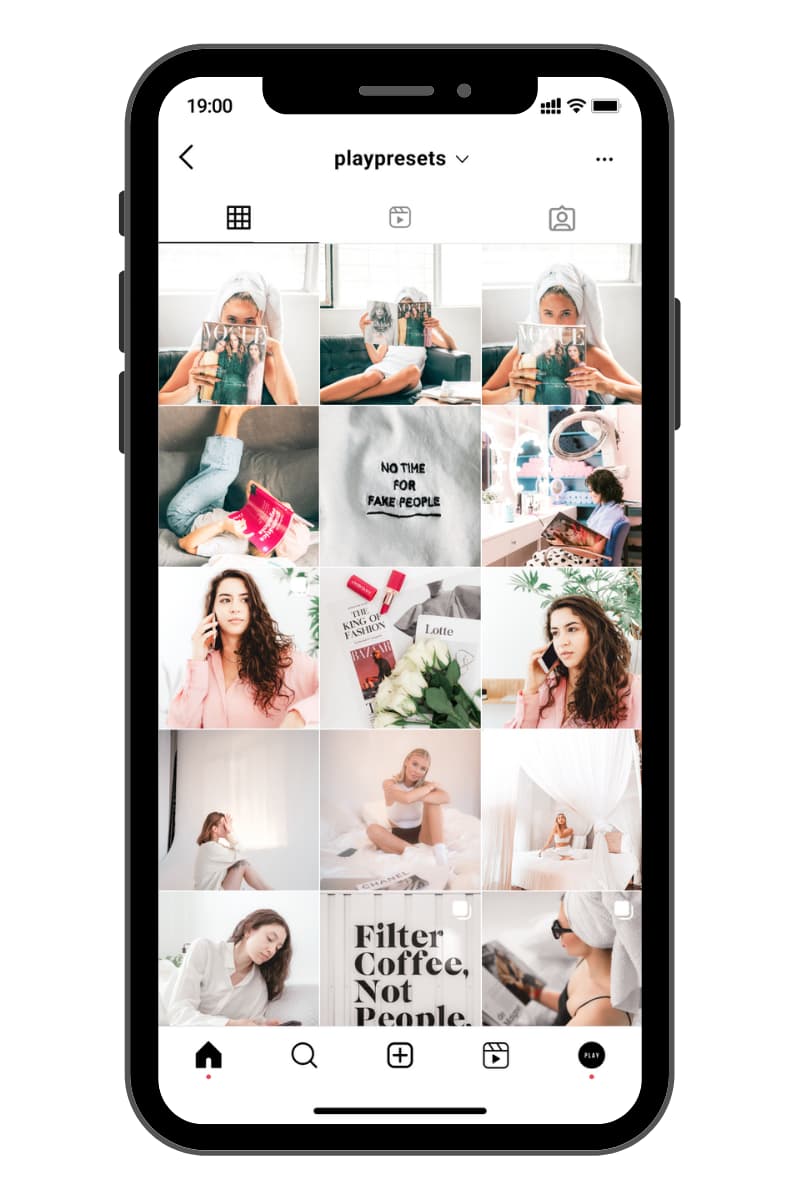
Below, we’ve included a visual guide to show you how the process works — from choosing your preset to seeing the final transformation. You’ll also see an example Instagram feed to preview how your edited images can look together.

7. Edit and Fine-Tune Your Photo (If Needed)
After applying a preset, you can use the preset opacity slider to adjust how strongly the preset affects your photo. This lets you customize the look to perfectly suit your image.
Additionally, Lightroom Mobile allows you to fine-tune various settings such as exposure, contrast, highlights, shadows, temperature, and more. Presets provide a great starting point, but slight tweaks may be needed depending on the lighting conditions or mood you want to achieve.
8. Save or Export Your Edited Photo
Once you're satisfied with your edit, it’s time to save or share your masterpiece.
-
Tap the share/export icon located in the upper-right corner of the app.
-
Choose your preferred export settings, including file type, image quality, and size.
-
Save the image directly to your device or share it instantly on social media platforms.
Exporting your photo ensures your edited images look stunning wherever you post or save them.
You can shop all our top Lightroom Presets in our shop: Shop Lightroom Presets
If you need any help, please fill out our contact form — we’re happy to assist you: Contact
Enjoy your new presets! We can’t wait to see your amazing edits. Make sure to tag your photos @playpresets and use the hashtag #playpresets so we can see and share your creations!